
Toyota Venza: Transmitter Battery(w/o Smart Key System)
Replacement
REPLACEMENT
PROCEDURE
1. REMOVE TRANSMITTER HOUSING COVER
|
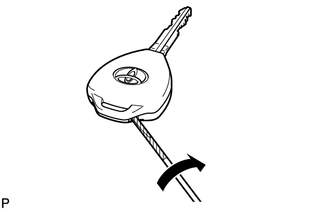
(a) Using a precision screwdriver with its tip wrapped in protective tape, pry open the transmitter housing cover. NOTICE: Do not forcibly pry the cover. HINT: Tape the screwdriver tip before use. |
|
2. REMOVE DOOR CONTROL TRANSMITTER MODULE
|
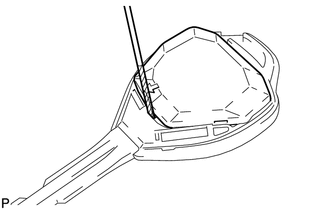
(a) Using a precision screwdriver with its tip wrapped in protective tape, remove the door control transmitter module from the transmitter housing case. NOTICE: Handle each part with care as they are delicate electrical parts. HINT: Tape the screwdriver tip before use. |
|
3. REMOVE TRANSMITTER BATTERY
|
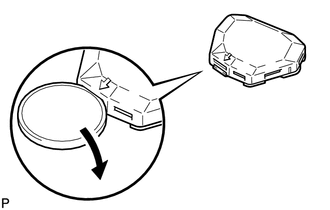
(a) Twist the coin in the direction of the arrow in the illustration, and remove the transmitter battery cover. |
|
|
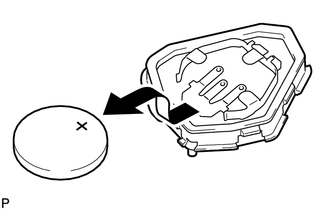
(b) Remove the battery (lithium battery: CR2025). NOTICE:
|
|
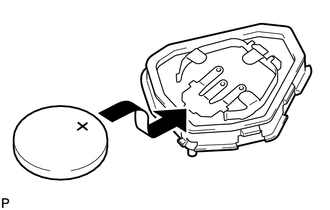
4. INSTALL TRANSMITTER BATTERY
|
(a) Install a battery (lithium battery: CR2025) with the positive (+) side facing upward, as shown in the illustration. NOTICE:
|
|
|
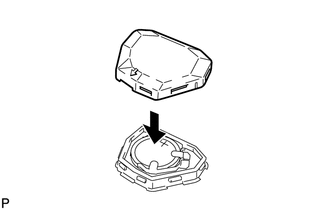
(b) Install the cover. |
|
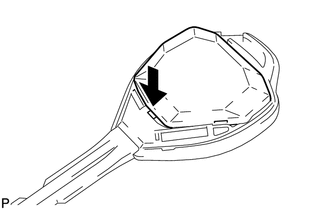
5. INSTALL DOOR CONTROL TRANSMITTER MODULE
|
(a) Install the door control transmitter module into the transmitter housing case. |
|
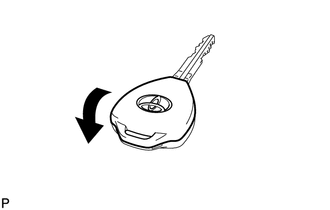
6. INSTALL TRANSMITTER HOUSING COVER
|
(a) Install the transmitter housing cover to the transmitter housing case. |
|
(b) Check that the transmitter LED illuminates when the switch is pressed.
OK:
Transmitter LED illuminates when switch is pressed.
 Transmitter Battery(w/ Smart Key System)
Replacement
REPLACEMENT
PROCEDURE
1. REMOVE TRANSMITTER BATTERY
NOTICE:
Take extra care when handling these precision electronic components.
(a) Push the release hook knob and extra ...

Other materials about Toyota Venza:
On-vehicle Inspection
ON-VEHICLE INSPECTION
PROCEDURE
1. CHECK RADIATOR CAP SUB-ASSEMBLY
(a) Measure the valve opening pressure.
(1) If there are water stains or foreign matter on rubber packings 1, 2 or 3,
clean the part(s) with water and finger scouring.
(2) Check that r ...
Transmitter ID not Registered (C2171/71)
DESCRIPTION
Each tire pressure warning valve and transmitter ID is registered to the tire
pressure warning ECU.
When the ECU detects a transmitter ID code not registered in the ECU, a DTC is
output.
DTC No.
DTC Detection Condition
...
How To Proceed With Troubleshooting
CAUTION / NOTICE / HINT
HINT:
Use the following procedure to troubleshoot the rear view monitor system.
*: Use the Techstream.
PROCEDURE
1.
VEHICLE BROUGHT TO WORKSHOP
NEXT
...

0.163