
Toyota Venza: On-vehicle Inspection
ON-VEHICLE INSPECTION
CAUTION / NOTICE / HINT
CAUTION:
Be sure to follow the correct removal and installation procedures of the driver side knee airbag assembly.
PROCEDURE
1. INSPECT DRIVER SIDE KNEE AIRBAG ASSEMBLY (VEHICLE NOT INVOLVED IN COLLISION)
(a) Perform a diagnostic system check (See page
.gif) ).
).
|
(b) Visually check for defects with the driver side knee airbag assembly installed on the vehicle. (1) The defects are as follows:
OK: No defects are found. HINT: If any of the defects is found, replace the driver side knee airbag assembly with a new one. |
|
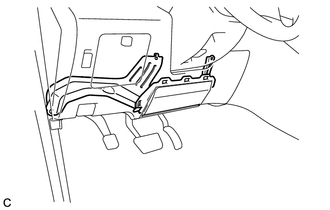
2. INSPECT DRIVER SIDE KNEE AIRBAG ASSEMBLY (VEHICLE INVOLVED IN COLLISION AND AIRBAG HAS NOT DEPLOYED)
(a) Perform a diagnostic system check (See page
).
|
(b) Visually check for defects with the driver side knee airbag assembly removed from the vehicle. (1) The defects are as follows:
OK: No defects are found. HINT: If any of the defects is found, replace the driver side knee airbag assembly, instrument panel or instrument panel reinforcement with a new one. |
|
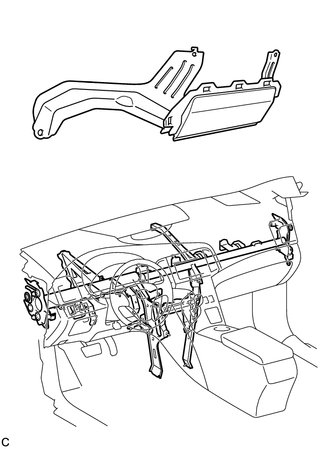
 Components
COMPONENTS
ILLUSTRATION
...
 Removal
REMOVAL
PROCEDURE
1. PRECAUTION
CAUTION:
Be sure to read Precaution thoroughly before servicing (See page
).
2. DISCONNECT CABLE FROM NEGATIVE BATTERY TERMINAL
CAUTION:
Wait at least 90 secon ...
Other materials about Toyota Venza:
Cup holders
► Front
► Rear
Pull down the armrest and open the lid.
- Adjusting size of the front cup holder
Remove the adapter.
CAUTION
- Items unsuitable for the cup holder
Do not place anything other than cups or aluminum cans in the ...
Installation
INSTALLATION
PROCEDURE
1. INSTALL DRIVER SIDE KNEE AIRBAG ASSEMBLY
(a) Check that the ignition switch is off.
(b) Check that the cable is disconnected from the negative (-) battery terminal.
CAUTION:
Wait at least 90 seconds after disconnecting the cable ...
Front Occupant Classification Sensor RH Collision Detection (B1786)
DESCRIPTION
DTC B1786 is output when the occupant classification ECU receives a collision
detection signal sent by the front occupant classification sensor RH if an accident
occurs.
DTC B1786 is also output when the front seat assembly RH is subjected to ...

0.1233